
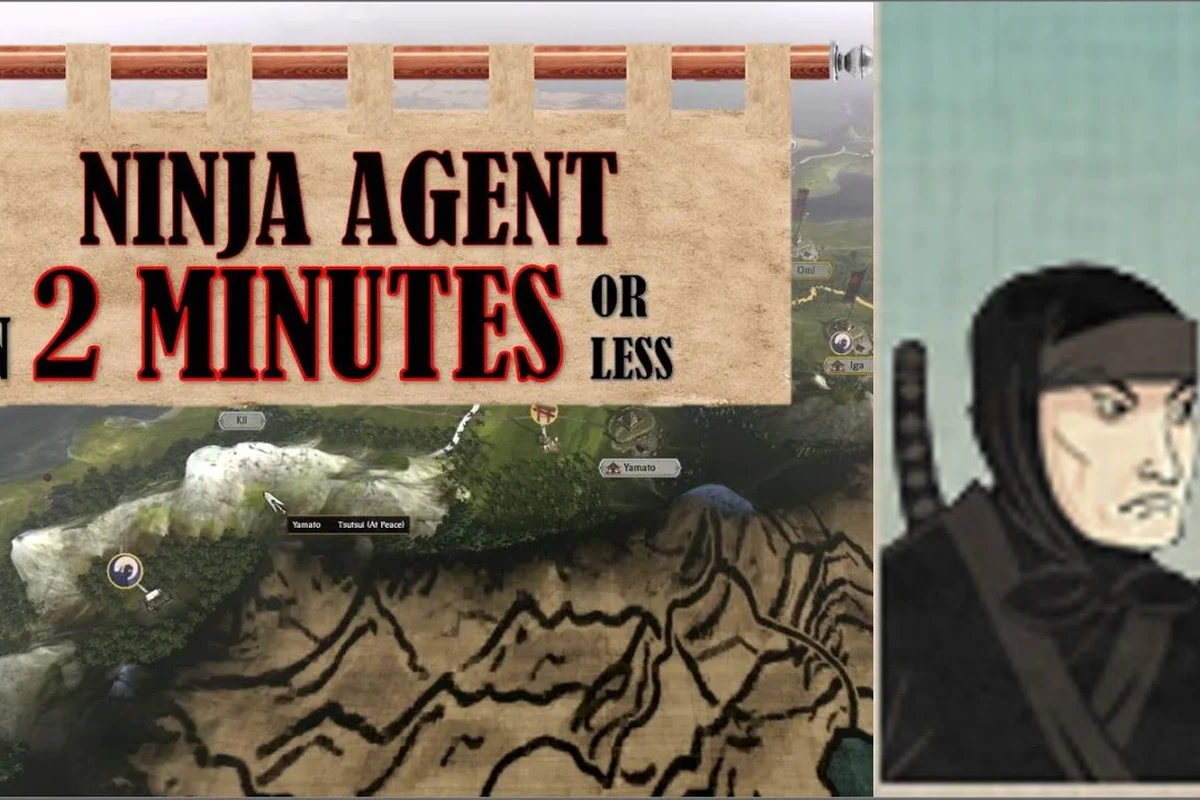
A skilled shinobi slipping between castle walls at midnight can rewrite the outcome of an entire war before your army ever engages. This Shogun 2 assassination guide breaks down the covert-ops layer that most campaigns ignore, covering how Ninja and Geisha agents pick their targets, how sabotage rolls work, and how to chain those actions into a religion-unrest loop that collapses enemy provinces from the inside. If you have ever lost a carefully promoted general to a sudden heart-killing, this is the playbook that flips that knife back into your own hand.
Agent Roster and Core Stats
Four agent types carve out the covert space in Shogun 2, and each one bends the campaign in a different direction. The official agent taxonomy laid out on the Total War: Shogun 2 reference on Wikipedia confirms that Ninja cover scouting, sabotage, and assassination, Geisha focus purely on assassination, Metsuke supervise provinces, arrest enemy agents, and can bribe settlements and armies, while Monks (or Missionaries for Christian clans) inspire armies, spread their faith, and can talk enemy agents into retiring.
Because their role profiles barely overlap, choosing the right agent for a specific job is the first decision you make. A Geisha who tries to run sabotage will fail the roll, and a Ninja who tries to inspire an army is simply wasting an action.
Agent Comparison Table
| Agent | Primary Role | Action Profile | Best Use Case |
|---|---|---|---|
| Ninja | Scouting + Sabotage + Assassination | High ability across all three | Long-term campaign pressure and force composition attacks |
| Geisha | Pure Assassination | Highest kill chance, no sabotage | Removing a single high-value enemy general or daimyo |
| Metsuke | Province supervision + Bribery + Counter-espionage | No direct kills, very high defense | Holding a rebellious province, sabotaging enemy money |
| Monk / Missionary | Religious influence + Inspire + Agent Conversion | No combat role | Spreading religion, flipping enemy agents, boosting friendly morale |
The base game's Steam store page for Total War: SHOGUN 2 shows that the title still holds a Very Positive rating from around sixty-eight thousand reviews, so the systems this guide relies on have been stress-tested by more than a decade of player experimentation. What most newcomers miss is that covert ops scale with agent level, and an agent sitting at level 1 has a fundamentally different success profile than one at level 9.
Agent Stat Block at a Glance
| Stat | What It Controls | Where to See It | Typical Endgame Value |
|---|---|---|---|
| Subterfuge | Success chance on sabotage, inciting unrest, and conversion rolls | Agent details panel | 6-9 |
| Authority | Success chance on assassinate, bribe, and inspire rolls | Agent details panel | 6-9 |
| Loyalty | Risk of being bribed or turned by the enemy | Agent details panel | Always watch this one |
| Chivalry / Dread | Generates province-wide public order effects | Agent details panel | Affects the surrounding settlement |
Pumping Authority is the most important stat for any agent whose job is to kill, because assassinate rolls scale directly off it. Pumping Subterfuge is the priority for sabotage and conversion chains. Keeping Loyalty high stops your prized agent from defecting after one too many failed missions, which is a real risk once enemy Metsuke start hunting them.
How the Assassination Roll Works
The kill itself is a single die roll resolved under the hood, and the inputs that feed that roll are entirely within your control. Each agent has an internal success threshold tied to Authority, which is then modified by the target's own hidden stats, by any defending Metsuke assigned to the target's army or province, and by the relative skill difference between attacker and defender. If you can swing the skill difference by 3-4 points in your favor, the success band widens dramatically.
Once those modifiers are tallied against the agent's base threshold, the engine reduces the outcome to three practical decision bands you actually plan around, and understanding where each band sits is what separates a coin-flip Ninja mission from a pre-planned decapitation strike. Below, each of those three levers is broken down with the threshold, the typical swing, and the real trade-off you make when you invest in it.
-
Agent level vs target level — promoting your Ninja from level 4 to level 7 is often the difference between a coin flip and a near-certain kill.
-
Target's defending Metsuke — a target with a high-level Metsuke attached gets a large defensive bonus, and you can either assassinate the Metsuke first or bribe the army it is supervising to remove it.
-
Choke-point access — an agent inside the target's own province is far more likely to succeed than one dispatched from across the map, which is why you should always march your covert assets toward the war before you trigger the kill.
Assassination Success Modifiers
| Modifier | Effect on Success Chance | Notes |
|---|---|---|
| Attacker is 3+ levels above target | +15% to +25% | Highest-impact single bonus |
| Defender's Metsuke present in same province | -10% to -20% | Remove Metsuke first or attack from a safe angle |
| Attacker has high Chivalry | Slight defensive buff to the target | High-Chivalry generals are slightly easier to kill |
| Attacker has high Dread | Slight offensive buff | Menacing agents are scarier to be around |
| Both agents inside the same settlement | Bonus to attacker | The closer you are, the more lethal the roll |
The community consensus, repeated across long Shogun 2 strategy threads, is that an agent within 2-3 levels of the target with the defending Metsuke removed will land the kill around 80% of the time. Drop that agent to 1-2 levels above an unguarded target and the success band climbs even further, which is why most assassination drives begin with a Metsuke hunt rather than the general kill itself.
Sabotage and the Attrition Loop
Sabotage is the second blade in the covert toolkit, and it does its real damage indirectly by trimming enemy force composition, burning income buildings, and slowing research. A well-timed sabotage chain against a rival who is trying to build up a strong stack can delay their doomstack by 4-6 turns, which is often more valuable than killing a single general because it gives your real army time to maneuver.
The Shogun 2 sabotage guide playbook generally rotates through three targets in order of priority, but the order should be re-evaluated each turn based on the rival clan's current build queue. If a hostile daimyo is one turn away from finishing a yari dojo or sword school, burning that building first denies the recruitment slot for several turns, while a market or port only loses gold income temporarily until the next agent is hired. A common mistake is to default to income targets because the gold loss is immediately visible on the clan finance screen, yet recruitment denial is usually the higher-value play when the enemy is massing ashigaru or katana samurai stacks.
-
Enemy military buildings — burning a sword school or a yari dojo removes the unit the enemy is trying to recruit, forcing them to either recruit something weaker or wait for the slot to come back online.
-
Enemy income buildings — markets, ports, and mines are all valid targets, and burning one of them cuts gold without forcing a fight.
-
Enemy research buildings — temples, tea houses, and other research boosters can be set back by several turns, which slows the enemy's unlock tree.
Sabotage Target Priority Table
| Priority | Target | Strategic Effect | Recovery Time |
|---|---|---|---|
| 1 | Sword school / Yari dojo / Bow dojo | Removes one specific unit from the enemy's recruit pool | 4-6 turns |
| 2 | Market / Port / Specialized mine | Cuts faction-wide income by 200-500 gold per turn | 6-8 turns |
| 3 | Temple / Tea house | Slows research by 1-2 techs depending on slot | 4-6 turns |
| 4 | Castle upgrade in progress | Stalls a province's defensive growth | 2-4 turns |
Because each successful sabotage trains up the agent's Subterfuge stat, a steady stream of small missions makes your next big mission easier. A Ninja who has burned four buildings in a row enters the assassination window with a much tighter success band than one who has been sitting idle in your home province for ten turns.
Conversion, Religion, and the Public-Order Death Spiral
The Shogun 2 conversion guide and religion unrest guide overlap so heavily that they are effectively the same campaign-layer exploit. Once a province is under religious pressure, public order starts to drift, and once public order drops far enough, you can pile covert actions on top of military pressure to flip the province without ever committing a full stack.
These three trigger points fire in a strict sequence: a sabotage mission must first disable the target province's key military or economic building, then a religion conversion agent has to push the faith meter past its unrest threshold, and finally an incited-unrest or assassination covert action tips the settlement's public order into the red before your army marches in. The order matters because Shogun 2 resolves each layer additively — a ninja's "incite unrest" stacks on top of existing religious pressure rather than replacing it, so skipping the earlier steps leaves your later covert action operating against a province that can still field a full garrison and resists the conversion roll. Think of it less as three optional bonuses and more as a three-link chain where each link has to land before the next one will compound.
-
Spread religion into the province — assign a Monk or Missionary (depending on your clan faith) to operate in the target province for several turns. Once the religion meter crosses the threshold, the province starts showing negative public order effects.
-
Incite unrest — Ninja with high Subterfuge can run an "incite unrest" action that is mechanically distinct from assassination, and it stacks with the existing religious pressure.
-
Open a second front with a real army — when the province is already in the red on public order, your invading force can assault the settlement without facing a full garrison, because many defenders are stuck dealing with the unrest rather than reinforcing walls.
This is also where your covert-ops asset stack starts to compound. A province that is religiously pressured, unrest-stacked, and missing its best military building because of a prior sabotage mission is dramatically weaker than the sum of those individual debuffs, and the conversion roll against the garrison is correspondingly easier.
Religion and Public Order Effect Table
| Effect Source | Public Order Impact | Stackable? | Notes |
|---|---|---|---|
| Dominant foreign religion | -4 to -8 per turn | Yes, multiple religions stack | Strongest single source |
| Incite unrest (Ninja action) | -3 to -5 per turn | Yes, but capped | Lasts 3-4 turns |
| High taxes | -2 to -4 per turn | Yes, but slow | Indirect amplifier |
| Army stationed in province | -2 to -3 per turn (different mechanic) | Limited | Removes when army leaves |
| Metsuke + governor in province | +3 to +6 per turn | Negates most debuffs | This is why you assassinate the Metsuke first |
Because public order stacks multiplicatively rather than additively, hitting a province with religion pressure and a separate incite-unrest action often flips it from stable to rioting within 3-4 turns, while either effect alone would have taken 8-10. That compounding is the entire reason the religion unrest guide is worth reading as a separate chapter from the assassination chapter.
Food, Growth, and Covert-Ops Synergy
The Shogun 2 food management guide and Shogun 2 growth and development topic matter more for covert ops than they first appear, because a province that is starving cannot afford to maintain a Metsuke, and a province that is growing can afford to recruit a second Metsuke from scratch. Both of these facts change the math on whether your next assassination attempt will hit a defended or an undefended target.
Practical terms, the Metsuke upkeep sits at roughly 100 koku per turn, so a province dipping below its food threshold cannot sustain that expense and the agent despawns automatically, while a province climbing into surplus can recruit a second Metsuke in 2–3 turns and instantly re-arm its defending general with counter-assassination immunity that blocks ninja chains.
-
A province with a food surplus of 4+ can sustain two Metsuke and a governor, so its defending general is essentially unkillable from covert ops alone.
-
A province that flips to a food deficit will lose its second slot for Metsuke support, opening the path for an assassination chain.
-
High growth and development in the target province means you need to act quickly before the enemy unlocks a second Metsuke slot.
The food management rules around the Total War: Shogun 2 economy breakdown on YouTube confirm that surplus and deficit states flip a province's recruitment capacity, and that matters for covert-ops planning because the enemy's Metsuke count is part of your kill equation.
Food State and Covert Defense
| Province Food State | Metsuke Slots | Covert-Ops Defense Level |
|---|---|---|
| Surplus 4+ | 2 | Maximum defense, assassination is very hard |
| Surplus 1-3 | 1 | Average defense, most assassinations are coin flips |
| Balanced | 1 | Average defense |
| Deficit 1-3 | 1 (but at risk) | Defense is starting to weaken |
| Deficit 4+ | 0 | Province is collapsing, all covert actions are easy |
If you want to learn the long-term economy side of this equation, the Shogun 2 economy guide from The Viking General walks through the tax-and-build rotation that keeps your own provinces in the surplus band, which is what funds your covert-ops network in the first place. The two systems are tightly coupled: a strong economy funds more agents, and more agents generate the map pressure that protects your economy.
Building a Covert-Ops Campaign Plan
A campaign where covert ops are treated as a parallel war wins consistently, while a campaign where agents sit idle in the home province usually stalls in the mid-game. The plan below is the structure most experienced players use, and it is what the rest of this Shogun 2 assassination guide is built around.
Phase 1: Build the Network (Turns 1-20)
-
Recruit at least two Ninja and one Geisha in your first recruitment window. The Geisha is your kill tool, the Ninja are your workhorses.
-
Assign your first Ninja to scout the rival you intend to attack first. A second Ninja should start running sabotage chains on that rival's recruit buildings.
-
Avoid sending agents into the field until they are at least level 3, because the success rate jump between level 2 and level 3 is the single biggest in the game.
Phase 2: Strip the Defenses (Turns 20-50)
-
Assassinate the defending Metsuke attached to the target's main army before you try to kill the general.
-
Run 2-3 sabotage missions against the target's best military building to clip their recruit composition.
-
Once the Metsuke is gone, march your Geisha to the target's province and queue the general kill for the turn your army arrives.
Phase 3: Collapse the Province (Turns 50+)
-
Begin the religion conversion chain by assigning a Monk or Missionary to the target's province.
-
Stack incite-unrest actions on top of religious pressure to accelerate the public order collapse.
-
If you want a longer campaign arc, the Shogun 2 tips and tricks guide covers how to chain this with vassal diplomacy, because a province that collapses cleanly into your hands is a much faster vassal than one you have to siege.
Covert-Ops Agent Roster by Campaign Phase
| Phase | Ninja in Field | Geisha in Field | Metsuke in Field | Monk / Missionary |
|---|---|---|---|---|
| Phase 1: Build | 2 (1 scout, 1 saboteur) | 1 (training) | 1 (home defense) | 0 |
| Phase 2: Strip | 3-4 (saboteurs + scouts) | 1-2 (kill team) | 2-3 (home + target defense) | 0-1 (optional prep) |
| Phase 3: Collapse | 4-5 (full pressure) | 2 (multiple targets) | 3-4 (counter-intel) | 2 (one per target province) |
A Shimazu or Hattori campaign can compress that Phase 1 window to 4-5 turns because clan-specific dojos spawn trained ninja, so your "build" stage is really a 1-ninja scout probing the AI's Metsuke coverage while you queue a saboteur. The strip phase usually lasts 10-15 turns of sustained yari-ki and naval blockade before the target clan's economy cracks, and a single failed assassination attempt can trigger a diplomatic incident that burns 2-3 turns of relationship decay — so chaining 2-3 parallel pressure sources (sabotage, religious unrest via missionary, and a Metsuke) is what lets the late-game collapse land in 4-6 turns rather than dragging into a defensive grind.
Frequently Asked Questions
What is the most reliable way to assassinate a Shogun 2 general without losing my agent?
The most reliable approach is to remove the defending Metsuke first with a separate Ninja, then march your highest-Authority Geisha into the same province and queue the kill. With a 3-level skill advantage and no Metsuke present, success climbs above 80%, and you can repeat the chain with a fresh agent if the first roll fails.
How do I protect my own generals from a Shogun 2 assassination attempt?
Attach a high-level Metsuke to every army that contains a promoted general, and keep the Metsuke in the same province rather than roaming the campaign map. The Metsuke provides a defense bonus on the roll, and the agent also has a chance to capture the rival assassin, which removes the rival's covert-ops asset for free.
Can a Shogun 2 sabotage chain replace an actual army?
Sabotage cannot capture territory, but it can stall an enemy so thoroughly that your real army only needs half its expected strength to win the field battle. Treating sabotage as a force multiplier rather than a substitute is the right frame, because the province still needs to be marched into and occupied by a stack you actually own.
Which Shogun 2 religion setup works best for the unrest death spiral?
The Shogun 2 religion guide generally recommends Buddhism for Shinto-Buddhist clans, because the dominant faith lets you recruit Warrior Monks while still being able to use Missionaries against Christian factions. Pairing Missionary work with Ninja incite-unrest stacks religious pressure with raw unrest, and that combination is what flips a province from stable to rioting in 3-4 turns.
How many agents should I field at peak campaign strength?
At mid-to-late campaign, four Ninja, two Geisha, three Metsuke, and two Monks is a strong operating ceiling for a single player, and most clans cannot afford more than that without starving their field armies. The exact mix shifts with the wars you are fighting, but that headcount is what most experienced players settle on.