
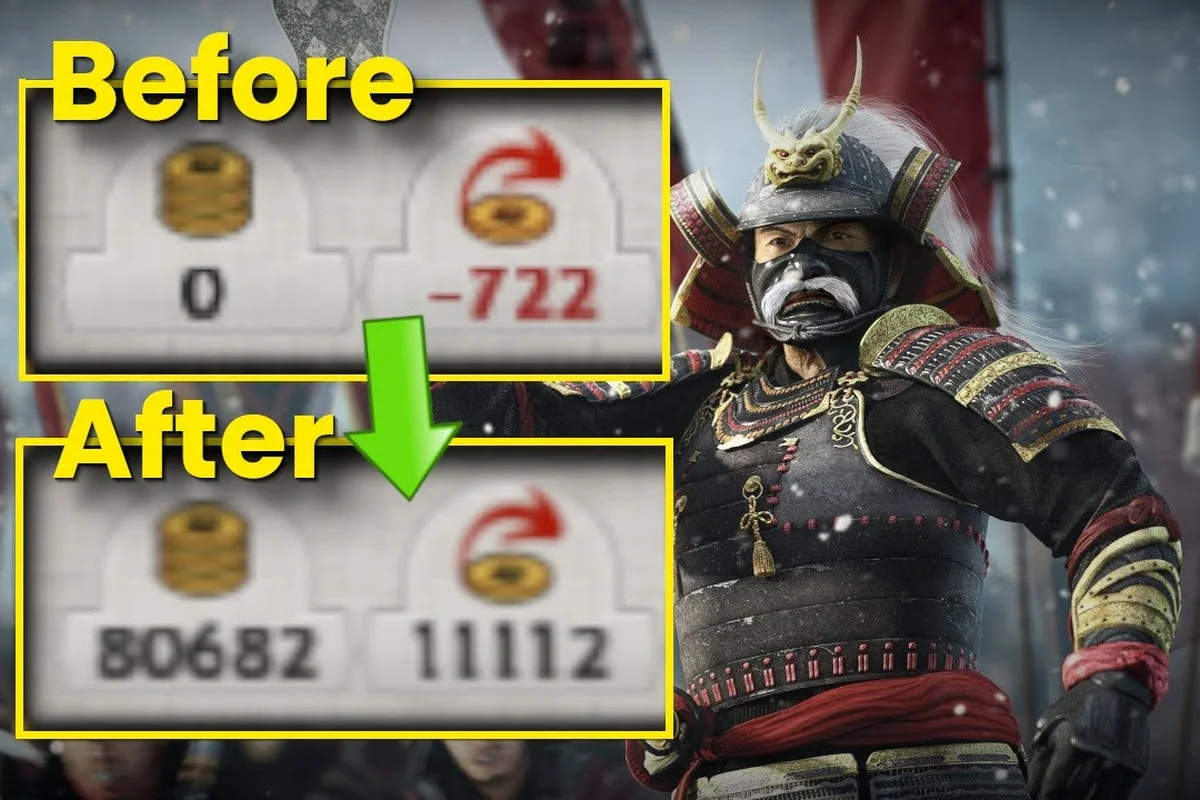
Total War: SHOGUN 2 punishes sloppy early turns harder than almost any other strategy game in the series, and most losing campaigns are decided before turn 20. The most common Shogun 2 beginner mistakes all share one root cause: treating the campaign map like a sprint instead of a balancing act between food, money, and military readiness. This guide walks through the specific errors that wreck your economy, why the AI exploits them, and the exact turn-by-turn adjustments that turn a struggling clan into a regional power.
Why Early-Game Economy Crumbles in SHOGUN 2
The campaign map of SHOGUN 2 layers three resources on top of each other: koku (money), food, and growth, and every building chain pulls from all three at once. Beginners tend to fixate on military recruitment, then watch their treasury evaporate while their provinces starve. The clan you pick on turn 1 changes which mistakes hurt you most, because each faction starts in a different province with its own military and economic slant. The Total War: Shogun 2 Wikipedia entry notes that Oda sits in Owari with stronger ashigaru, Takeda holds Kai with superior cavalry, and Tokugawa begins in Mikawa as a vassal of the Imagawa, leaning on diplomacy and better ninja plus metsuke.
The Three-Resource Trap
Every province simultaneously tracks public order, food surplus, and tax income, and improving one usually degrades the others. A Market boosts commerce income but requires an upgraded building chain, a Temple soothes religion but costs upkeep, and farms raise food but never pay you back in koku. New players instinctively queue three military buildings in a row, which produces a wealthy-looking province on paper and a starving, rebellious one in practice.
| Resource | Primary Source | Primary Sink | Beginner Mistake |
|---|---|---|---|
| Koku | Markets, ports, trade | Upkeep, recruitment, agents | Recruiting before income covers it |
| Food | Farms, ports, fisheries | Army size, province growth | Ignoring farms on island starts |
| Growth | Building chains, edicts | Slow expansion, rebellion | Skipping growth-boosting buildings |
The fix is sequencing: income first, food second, military third. Build a market or upgrade a farm in every new province before queuing a barracks — your recruitment cost and upkeep are drawn from koku, so an army built on a starving province eats more turns of negative income than it ever earns in conquest. Aim for a commerce income surplus of at least +200 koku per turn before recruiting a second army, and pair it with farms that keep your food surplus positive; otherwise you finance troops who consume your surplus and trigger province starvation, halting growth and inviting rebellion. This sequencing matches the table above, where every beginner mistake on the "Primary Sink" column is paid in upkeep that only income can cover.
Why Clan Choice Compounds the Problem
Choosing a faction without reading the starting bonuses is the first mistake many first-time daimyo make. According to community testing on the r/Shogun2 subreddit, the easiest openings for economy-focused play are Hattori, Tokugawa, and Date, because their home provinces and unique buildings front-load trade or food income. Harder openings like Ikeda or Kameyama require aggressive diplomacy from turn 1 just to survive the first winter.
The Shogun 2 Economy Guide: Cash Flow Before Conquest
A working Shogun 2 economy guide boils down to a single rule: never let your treasury dip below the upkeep of one full stack. When your koku buffer is too thin, a single unexpected rebellion or mercenary recruitment can put you in the red, and the AI bribes your vassals the moment you look weak. The game does not pause to let you recover; it accelerates against you.
Building Priority by Province Type
Different provinces demand different first buildings. A port province should prioritize the fishing port chain for food plus a market for trade, while an inland agricultural province needs farms before anything else. Beginners tend to copy a single build order across the whole map, which is why their coastal towns starve and their inland towns hemorrhage money.
| Province Type | First Building | Second Building | Skip Until Turn 15+ |
|---|---|---|---|
| Coastal/Port | Fishing Port | Market | Samurai barracks |
| Inland Farm | Farm chain | Market | Yari ashigaru recruitment |
| Mountain/Castle | Castle upgrade | Watchtower | Specialized units |
| Trade Node | Market (tier 2) | Road network | Religion buildings |
A common thread across Steam community guides for Total War: SHOGUN 2 is that road networks are undervalued; connecting trade nodes early doubles the income of nearby markets within five turns, yet the cost of 800-1200 koku per road tile tempts newcomers to delay until their treasury feels safe. The smarter play is to check the trade-resource overlay before recruiting agents, since a single road linking a silk-producing province to the market chain can pay back the investment in under ten turns through the commerce bonus. Pairing that road with a ranked-up metsuke stationed in the node further amplifies tax income, compounding the effect of the table's recommended tier 2 market placement.
Tax Rate Management
The tax slider on the province panel is not a "set and forget" knob. Raising taxes boosts short-term income but tanks public order and slows growth, while lowering taxes does the opposite. A balanced opening keeps taxes at Low or Medium for the first 10 turns, then bumps to High only when you have a garrison and a metsuke stationed in the province. If you push taxes to Very High before turn 10, expect rebellions that cost more koku to crush than the tax boost ever earned.
How to Make Money in SHOGUN 2 Without Overexpanding
The fastest way to make money in SHOGUN 2 is not conquest, it is trade. Trade income scales with the number of trade routes you control, and each route can pay more than an entire agrarian province. New players ignore the trade panel because it looks secondary to the recruitment tab, but the agents and commerce buildings that drive trade are also the cheapest investments per koku of return.
Trade Routes and Nodes
Every faction has a home node and can negotiate access to foreign nodes through diplomacy or conquest. The longer the trade route, the higher the income, which is why controlling a chain of coastal provinces from Kyoto to Kyushu is the classic economic snowball.
| Trade Node Pair | Approximate Income (Turn 20) | Risk Level | Beginner Viability |
|---|---|---|---|
| Home node → adjacent | 200-400 koku/turn | Low | Always take |
| Home node → mid-distance | 500-900 koku/turn | Medium | Take after turn 15 |
| Home node → far coast | 1000+ koku/turn | High | Requires navy |
| Vassal node → foreign | 300-600 koku/turn | Low | Trade agreement first |
A veteran-approved Shogun 2 how to make money routine goes like this: open the trade panel every 3 turns, reroute any caravan toward a higher-income destination such as a mid-distance node offering 500-900 koku/turn, and never let a foreign caravan sit in your port unused — instead, immediately redirect it inland or refund it for a small treasury boost. Because trade income scales with route length, even a single mid-distance reroute per inspection can add 200+ koku/turn without raising your upkeep, and the inspection cadence prevents you from missing fee renewals on foreign nodes. Pair this with a trade agreement secured through diplomacy, and your clan will snowball much faster than relying on taxes or farms alone.
Agents as Economic Multipliers
Ninja, metsuke, and monks are not just military tools, they generate income through missions. A leveled ninja running sabotage on a rival's market can halt their growth for a season, while a metsuke stationed in a rebellious province converts unrest into growth and a small koku trickle. According to community reports on the r/Shogun2 subreddit, the single most underused agent action is the metsuke's "Promote Culture" ability, which adds flat koku income to a province for several turns.
Expanding Fast in SHOGUN 2 Without Triggering Realm Divide
The desire to expand fast is the second-most common Shogun 2 beginner mistake, and the most expensive one. Taking too many provinces too early triggers Realm Divide at a higher threshold, which turns every neighboring clan into a hostile coalition. The expansion that works is measured: capture one or two adjacent provinces, consolidate, then push again, and the resulting diplomatic free-for-all is a perfect time to weigh whether missionary pressure is worth the political cost—our Shogun 2 Christianity Guide breaks down how religious conversion reshapes both your internal stability and the alliances that fall apart the moment Realm Divide hits.
Expansion Windows and Thresholds
Realm Divide triggers when you control too many provinces relative to the rest of the map, and the threshold shifts based on your difficulty and year. A safe expansion cadence looks like one province every 8-10 turns until you hold roughly a third of the map, then a diplomatic pause.
| Campaign Year | Safe Province Count | Expansion Pace | Risk if Exceeded |
|---|---|---|---|
| Year 1-2 | 3-5 | 1 per 10 turns | Minor diplomacy hit |
| Year 3-5 | 6-10 | 1 per 8 turns | Vassal betrayals |
| Year 6-8 | 11-15 | Pause, consolidate | Realm Divide risk |
| Year 9+ | 16+ | Push for win condition | Coalition war |
If you want concrete Shogun 2 how to expand fast strategies, the consensus among Steam guide authors is naval conquest: a single well-built ship can land an army in an undefended trade-node province, seize it for high income, and disrupt an enemy trade route in the same turn. Land-only expansion is slower because every overland march eats movement points and exposes your army to ambush.
Avoiding the Coalition Trap
Realm Divide is not a sudden event, it is a slow tightening noose. The AI checks your province count, your trade income, and your military strength every turn, and assigns a threat score. Once that score crosses the threshold, the coalition forms and you face three or four simultaneous wars. Holding back one province from conquest, keeping a buffer vassal, and maintaining non-aggression pacts with two neighbors can delay Realm Divide by 20-30 turns, which is often enough to secure the win condition.
The Shogun 2 Food Surplus Guide: Why Your Armies Starve
The single largest Shogun 2 beginner mistake that veterans call out is ignoring the food surplus indicator on the province panel. Food is consumed by armies in the field, by province growth, and by certain building chains, and a province that drops below zero food suffers penalties to public order and replenishment. Island factions and clans that start near a port suffer most, because their provinces are small and isolated.
How Food Consumption Works
Each army eats food proportional to its size, and a full stack of 20 units consumes roughly twice the food of a half-stack. Province growth also eats food, so a province that is booming in population can starve itself into rebellion. The Shogun 2 food surplus guide that the community recommends is simple: keep at least +4 food in every province during peacetime, and +8 food in any province bordering a hostile army.
| Situation | Recommended Food Surplus | Building Priority | Army Size Limit |
|---|---|---|---|
| Peaceful home province | +4 or higher | Farm, market | 1 full stack max |
| Border province | +8 or higher | Farm, watchtower | 1.5 stacks |
| War front | +12 or higher | Farm, supply depot | 2 stacks |
| Naval island | +6 or higher | Fishing port chain | Half-stack only |
Beginners often recruit a second army before checking whether their capital can feed it, then watch both stacks take attrition damage. The fix is to upgrade the farm chain to its second tier in your capital and any province that hosts a field army, and to disband or merge armies that exceed the surplus.
The Seasons Multiplier
Food production drops in winter and rises in summer, which means a province with +2 food in spring can fall to -2 food in winter without warning. According to community testing documented on the Steam Shogun 2 guides hub, the safest pattern is to overbuild farms in every province so the winter floor stays at +4. Players who rely on a single fishing port to feed a stack learn the hard way that ports produce less food in winter.
Agent, Army, and Diplomacy Mistakes That Compound Economic Damage
The economic mistakes above become fatal when paired with weak agents, poorly composed armies, and ignored diplomacy. Beginners often recruit a ninja early, then send it on a lone sabotage mission, only to lose it to a counter-ninja. The agent game in SHOGUN 2 is a long-term investment, not a one-shot tool.
Agent Leveling Priorities
Each agent gains experience through missions, and a level 5 ninja is exponentially more valuable than a level 1 ninja. The common Shogun 2 beginner mistake here is using agents aggressively before they are leveled, which loses them and the accumulated experience.
| Agent | Best Early Skill | Late-Game Skill | Common Mistake |
|---|---|---|---|
| Ninja | Sabotage | Assassinate rival agents | Solo missions without escort |
| Metsuke | Promote Culture | Bribe enemy garrison | Stationed far from front |
| Monk | Convert province | Inspire religion | Used as a general |
| Geisha | Court faction leader | Spy on enemy plans | Sent into hostile territory |
A geisha assigned to a rival court for several turns can reveal their entire army composition, which is a force multiplier for your own recruitment choices. Most beginners never build the geisha school chain, which is the only way to recruit more than one geisha per clan.
Army Composition Errors
A stack of 20 yari ashigaru looks impressive and loses to a single matchlock unit. Beginners tend to build mono-type stacks because the unit cards look similar, but the battle system rewards mixed compositions: yari ashigaru to hold the line, bow ashigaru for ranged damage, and one or two specialist units to break the enemy center. Recruiting 20 of the same unit also means a single counter-unit type destroys you, whereas a mixed stack adapts to most enemy lineups.
Diplomacy as an Economic Tool
Trade agreements, non-aggression pacts, and military alliances are not flavor text, they are koku multipliers and threat reducers. A single trade agreement can add 300-500 koku per turn, and a military alliance means your ally absorbs aggression that would otherwise hit you. Beginners often declare war on a neighbor for a single province without checking the diplomatic map, then find themselves fighting a three-front war because every ally of their target joined the defense.
Frequently Asked Questions
What is the single most damaging Shogun 2 beginner mistake?
Ignoring the food surplus indicator in your home province. A capital that drops below zero food stops growing, takes public order penalties, and cannot replenish field armies, which collapses both your economy and your military in one chain reaction. Always keep food surplus at +4 or higher in every province, and prioritize farm chains before military recruitment.
How do I make money in SHOGUN 2 without expanding into a coalition?
Focus on trade routes, market upgrades, and agent-generated missions rather than conquest. A home trade node plus two foreign trade agreements can outpace the income of two captured provinces, and they do not raise your Realm Divide threat score. Pair this with a metsuke stationed in your richest province for the "Promote Culture" koku trickle.
When should I stop expanding to avoid Realm Divide?
Once you hold roughly a third of the map, usually 10-15 provinces depending on starting faction, pause conquest for 8-10 turns. Use that window to consolidate, raise a second army, and sign non-aggression pacts with two neighbors. Pushing past this threshold without preparation triggers the coalition and a multi-front war.
Why does my army take attrition damage even when not fighting?
Attrition in SHOGUN 2 has three common causes: low food surplus in the province, army size exceeding the supply limit, and winter season penalties. Check the province panel for the food number, merge stacks that exceed the supply cap, and consider pulling armies back to a fortress during winter if the surplus is thin.
Is naval expansion worth the investment for beginners?
Yes, especially for factions that start on an island or near a coast. A single well-built ship can seize an undefended trade-node province, which adds 500-1000 koku per turn and disrupts an enemy trade route. The initial investment pays back within 5-8 turns and avoids the diplomatic cost of overland expansion.