
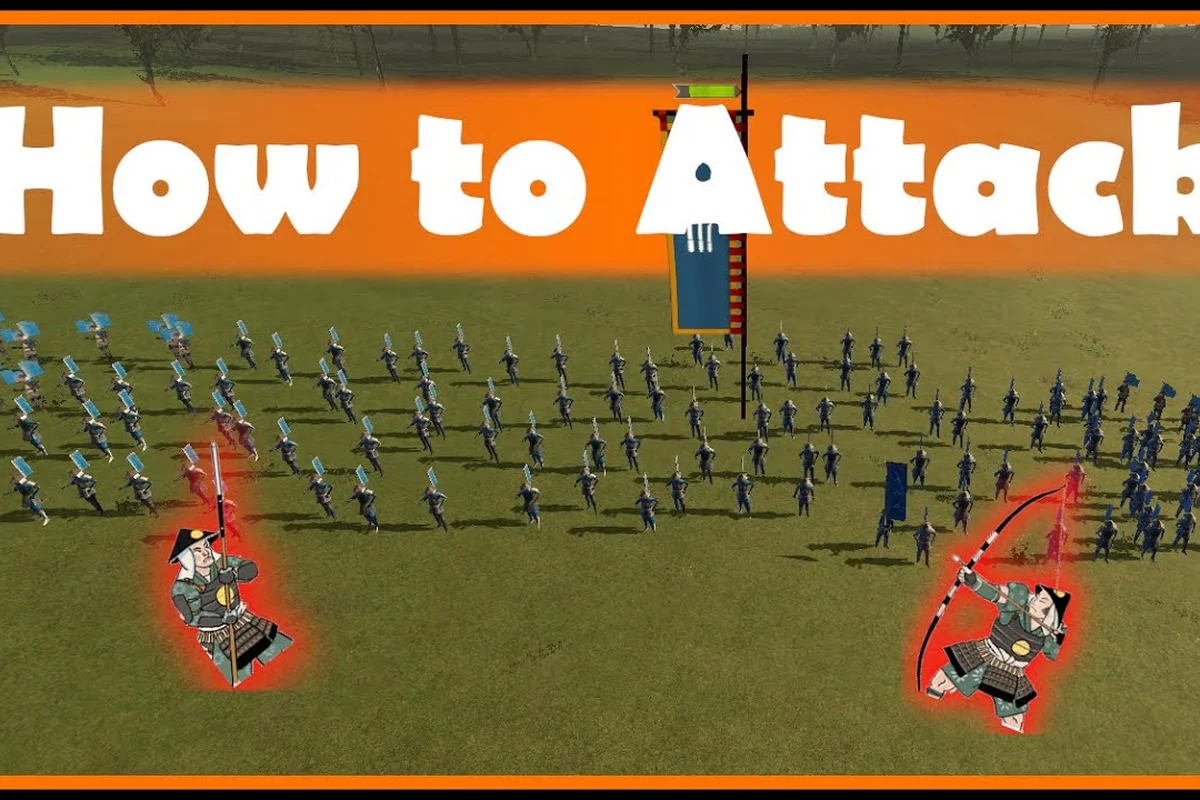
Knowing how to fold an enemy army in Total War: SHOGUN 2 is the single biggest separator between players who slog through campaigns and players who steamroll them. This Shogun 2 morale break guide walks through the mechanics that govern when a unit routs, the battlefield conditions that accelerate the collapse, and the precise timing required to convert a single wavering block into a cascading rout that decides the fight. A solid grasp of these systems also feeds directly into the multi stage siege playbook, where most of your campaign victories will eventually be decided.
The base game, originally released on 15 March 2011, has held up because the morale layer is dense but legible, and because the Total War: SHOGUN 2 page on Steam still carries roughly sixty-eight thousand user reviews at around 92 percent positive. Veterans keep coming back to that morale system, and newcomers can exploit the same rules once they understand the underlying numbers.
How Morale Works Under the Hood
Every unit in SHOGUN 2 has a hidden morale stat that interacts with four visible meters during battle: Unit Morale, Fatigue, Ammo (for missile and matchlock troops), and Melee Attack posture. Unit Morale is what you actually watch on the unit card. When the bar drains to zero, the unit breaks formation and runs. According to community testing, the bar starts at roughly 100 percent for trained samurai and drops faster the more negative modifiers pile up during a single engagement.
Rather than overwriting one another, these morale drains layer on top of the same hidden 100-point pool, so a unit already softened by fatigue and ammo loss will shatter from a modest cavalry charge that a fresh unit could absorb — this is why a yari ashigaru block can hold a frontal spear wall for minutes, then collapse in seconds once matchlock fire and a flanking ashigaru reserve start ticking simultaneously.
-
Casualties scale with the unit's size and tier. Killing a single yari ashigaru barely matters; killing ten percent of a unit's models inflicts a sharp morale hit.
-
Flanking and rear charges add a hidden penalty that veteran players estimate at around -6 to -8 morale per second of exposure.
-
Fatigue is a separate bar that indirectly crushes morale. A winded unit recovers slower and breaks faster when pressured.
-
General presence within roughly 40 meters removes the routed state entirely and rallies wavering troops faster.
-
Terrain and posture (bracing, firing, screen) shift the threshold at which a unit chooses to fight, hold, or flee.
Understanding which lever to pull on a given unit is what separates an average engagement from a clean rout. A unit pinned by missiles with no melee pressure will only waver slowly, while the same unit hit in the flank by fresh cavalry will shatter in seconds.
The Hidden Stat Stack
There is a soft modifier ceiling the game applies, and once a unit accumulates roughly five stacked negative effects, additional modifiers lose impact. This is why experienced players prefer to apply two or three strong pressures at once rather than scattering weak attacks across many units. Examples of strong pressures include a Cavalry Rear Charge, Matchlock Volley at Close Range, and General Aura on a Routing Ally.
| Morale Drain Source | Approximate Impact | Stacking Behavior |
|---|---|---|
| 10% casualties | -15 morale (one-time) | Resets on regen |
| Flank attack active | -2/sec while exposed | Stacks with rear |
| Rear charge active | -4/sec while exposed | Stacks with flank |
| General nearby (enemy) | -3/sec within 40m | Suppresses rally |
| Missile volley 50m+ | -1 per volley | Soft cap after 5 |
| Wavering ally adjacent | -2/sec | Contagion effect |
The contagion effect is critical. When one unit routs and runs past friendlies, every adjacent unit takes a -2 morale/sec hit that often cascades through an entire line. According to community data, this is the most common way entire armies collapse in the late game, well before the player's cavalry reaches the backline.
Routing Enemies Cleanly: The Shogun 2 How to Rout Enemies Playbook
The phrase Shogun 2 how to rout enemies gets searched a lot, and the honest answer is that the routing itself is almost a side effect of correct setup. A unit that routs and never rallies loses models permanently and contributes to your kill count, but a unit that wavers, stabilizes, then re-engages wastes your momentum. The real goal is to push units past the wavering threshold into the broken state and then keep them broken.
These three triggers — rear cavalry charges, general proximity contagion, and multi-angle missile fire — each work because they stack a hidden morale penalty on top of a unit already under wavering pressure, and the next paragraphs walk through exactly how to apply each one in a field battle or castle siege context.
-
A rear charge from cavalry on an already pinned unit. Yari cavalry are the cheapest, but no-dachi cavalry or even a yari sam unit works in a pinch. Pin the target with a braced spear wall or matchlock screen, then commit the cavalry to the rear arc the moment the target's Unit Morale bar drops below roughly 50 percent.
-
General proximity to a routing ally. Walk your general near a wavering enemy and the contagion penalty will push wavering units into the broken state. This is why your general's positioning often decides close battles.
-
Sustained missile fire from multiple angles. A single bow unit rarely breaks a fresh unit, but two or three firing from different directions will erode Unit Morale steadily. The best siege players use arrow towers and field archers in concert to break defending ashigaru before melee is joined.
A useful timing trick: switch a unit's stance to Melee Attack the moment it begins to waver. The offensive posture adds a hidden morale penalty to the recipient of roughly -4, which is often enough to push the wavering unit into breaking. Most players miss this because the default stance is Melee Defensive, and the game does not flag the difference in the unit tooltip.
| Trigger | Cost to Apply | Reliability | Best Used Against |
|---|---|---|---|
| Rear cavalry charge | 1 cav unit, possible losses | High | Spear ashigaru, archers |
| General proximity | 0 (positioning) | Medium | Wavering mid-tier units |
| Multi-angle missiles | 2-3 archer units, ammo | Medium-High | Stationary defenders |
| Stance flip to Attack | 0 (micro) | Medium | Wavering mid-tier units |
Note how all four triggers pair a "soft" pressure with a "hard" pressure. Soft pressures are cheap and don't risk models; hard pressures cost men and ammo. The combination is what guarantees the rout, not either pressure alone. Players who rely on only hard triggers tend to trade models inefficiently, while players who rely on only soft triggers find their opponents rally before the bar empties.
Multi Stage Sieges and the Shogun 2 Siege Battle Guide
The Shogun 2 siege battle guide angle matters because roughly half of all campaign battles in the mid and late game are sieges, and sieges use a unique morale layer. Defenders benefit from a flat +8 morale bonus per garrison tier, and attackers suffer a -4 penalty for being on the offensive against walls. According to community data, this means a level-three castle can hold against an attacker with double the unit count if the defender simply parks units behind the walls and waits for the assault to falter.
This is where Shogun 2 multi stage siege knowledge becomes essential. A multi-stage siege happens when a single battle drags through several capture points: the outer wall, the inner wall, the keep, and sometimes a torch-lit central plaza. The attacker must take each stage in turn, and the defender gets a fresh wave of reinforcements at every stage transition. Without proper pacing, attackers grind their best units down against the outer wall and arrive at the final stage with ashigaru.
Treat each stage as its own micro-battle rather than one continuous assault, because morale, reinforcement timing, and unit pools reset at every capture point. In practical terms, this means holding naginata samurai in reserve during Stage 1 so they hit Stage 2 at full stamina and unshaken morale, then rotating them out for yari ashigaru to absorb the -6 "lost defensive position" penalty that hits defending units the instant a wall falls. A clan like the Takeda, whose army is samurai-heavy, bleeds value when it dumps elites into the outer wall; pacing instead keeps the morale-break window open across all three stages, which is the entire point of a Shogun 2 morale break guide applied to siege pacing.
-
Stage 1 (Outer Wall): Soften the defenders with arrow towers and field archers. Take the gate with a cheap unit like yari ashigaru to absorb initial missile volleys, then commit your real assault force only after the defenders have used 30-40 percent of their ammo.
-
Stage 2 (Inner Wall): This is where the bulk of your elite units should hit. Send matchlock samurai in close to clear the wall towers, then commit naginata samurai to hold the breach while the rest of the army pivots inward.
-
Stage 3 (Keep): If the keep is large, split your army: one half holds the courtyard, the other half pushes the keep gate. The general should be in the courtyard half to suppress any defender rallies.
The morale layer interacts with each stage differently. A defender fighting on the outer wall is "fresh" in morale terms; once the wall falls, that unit takes a -6 morale penalty for losing its defensive position. If you time your push correctly, an entire defending stack can be in wavering state the moment the second wall falls, which is why elite samurai often break and run before they even reach melee with your naginata.
Garrison Tier vs. Attacker Penalty
The defender's morale advantage scales non-linearly with garrison tier: a Level 1 wood palisade grants a modest +8 morale buff, but a Level 4 castle town pushes that figure to +22, nearly tripling the resistance troops show during an assault. Because the bonus compounds with the defender's missile damage from garrison towers (+1 at stone, +2 at fortress, +3 at castle town), the effective combat power of a static garrison can rival a field army of equal unit count. In practice, this means a Hattori raid on a Shimazu castle town must weigh the morale crush of arrows from three towers plus a +22 morale defender bonus against the casualty cost of climbing the palisade — a calculus that frequently tips toward blockade and starvation rather than a direct wall assault.
| Garrison Tier | Defender Morale Bonus | Defender Missile Bonus | Recommended Action |
|---|---|---|---|
| Level 1 (Wood) | +8 | None | Assault if 2:1 unit advantage |
| Level 2 (Stone) | +12 | +1 tower | Blockade or wait for attrition |
| Level 3 (Fortress) | +18 | +2 towers, gate armor | Siege equipment mandatory |
| Level 4 (Castle Town) | +22 | +3 towers, palisade | Blockade for 2+ turns |
The takeaway: level-3 and level-4 garrisons are not worth a direct assault unless you have a clear 3:1 unit advantage and at least one siege tower or battering ram. The penalty for attacking fortified positions is steep enough that even veteran clans like the Takeda lose more men than they should when they rush the walls.
Shogun 2 Castle Siege Tactics: Building the Assault
The Shogun 2 castle siege tactics playbook rewards preparation as much as execution. Two principles drive the design of any successful assault: stagger the breach so your elite units enter in waves, and suppress the towers before committing the breach team. Skipping either step typically costs 30-50 percent of the assault force before the inner wall is even reached.
A reliable assault composition for a level-2 or level-3 castle in campaign play scales to your available army cap, and the unit ratios matter more than raw unit count because morale break thresholds in Shogun 2 are tied to melee combat power at the breach point rather than overall army size. For a standard 18-slot stack, this means roughly 60 percent frontline infantry, 20 percent missile support, and 20 percent general/cavalry reserve; deviating from these ratios either starves your breach team of the melee attack needed to force a morale break, or leaves your naginata samurai exposed to concentrated tower fire without suppression.
-
4 yari ashigaru as the gate ram crew and initial wall-clear screen. These are expendable.
-
2 naginata samurai as the main breach force. High melee attack and armor mean they survive the initial volley.
-
2 bow samurai or bow ashigaru for suppression of the wall towers once the gate is down.
-
1 general on a horse, positioned 50m behind the breach to provide aura support without being targeted by the towers.
-
1 matchlock unit if available, firing into the courtyard from a position outside tower range.
The order of operations is straightforward. First, advance the ashigaru under tower fire while the missile units focus the towers from a safe angle. Second, drive the battering ram into the gate and keep the ashigaru moving forward even if they take losses. Third, once the gate is down, commit the naginata samurai through the breach in a tight formation. Fourth, march the general up to the breach and rally any wavering ashigaru that made it through.
The morale layer matters most at step three. A breach assault without missile support is the most common mistake new players make, because the defenders rally behind the inner wall and pour missile fire into the breach. The breach becomes a kill zone. Bringing your own missiles or matchlocks to bear on the inner wall forces the defenders to either rout or pull back, and either outcome is good for you.
Wall Assault vs. Gate Assault
Choosing between a battering ram and a siege tower is rarely a one-size-fits-all call, because the garrison's composition and tier directly shape which approach triggers a faster morale break. Against a level 1-2 garrison with mostly ashigaru levy defenders, the battering ram is typically the more efficient pick, since the defenders lack the yari samurai or matchlock units needed to concentrate heavy missile fire on the gate approach. Against a level 2-3 garrison that has been reinforced with bow samurai and heavier missile infantry, the siege tower becomes the better tool, because spreading the assault across the wall forces the garrison commander to detach missile units to cover every tower approach, thinning their fire lanes. Players who default to a single method often find their assault stalling on the approach road, so reading the garrison tier before committing your siege equipment is the first real decision in any Shogun 2 castle siege.
| Assault Method | Best Garrison Tier | Key Advantage | Key Risk |
|---|---|---|---|
| Battering ram | Level 1-2 | Cheaper, faster | Concentrated missile fire on gate |
| Siege tower | Level 2-3 | Spreads defender attention | Slower, vulnerable while parked |
| Combined assault | Level 3-4 | Forces defender to split fire | Higher ammo and unit cost |
A combined assault is the safest path against a fortress garrison. While the battering ram draws the defenders' gaze to the gate, the siege tower parks against an undefended section of the wall, and the naginata samurai pour over the parapet. The defenders must divide their attention, and a divided defender is easier to rout. This is the same principle that governs open-field battles: apply pressure from multiple angles, and the enemy's morale will break before any individual unit is fully destroyed.
Shogun 2 How to Assault Walls Without Bleeding Out
The Shogun 2 how to assault walls question gets asked most often by players who keep losing their best units to wall defense fire, usually because they march a full yari samurai block straight up the ramp into overlapping arrow tower arcs. The honest answer involves four micro-habits that most players skip: masking your approach with terrain, timing your missile screen against the tower crews, angling for sun glare, and holding your general off the wall until the gate is open. Skipping any one of them can double or triple your casualty count on a single castle assault, which is the single fastest way to throw away a campaign turn.
First, never assault uphill into a castle without first moving a missile unit into a firing position that covers the walls. The arrow towers will shred any unit that walks up the slope, and a single bow ashigaru on your side, positioned to fire into the tower crew, will halve your losses.
Second, use the terrain outside the castle to mask your approach. Castles in SHOGUN 2 typically have a ring of trees, embankments, or buildings within 80-100 meters of the walls. Pathing your army through these features means the towers can only engage the lead unit, which is exactly the unit you want to take fire.
Third, attack from the angle that puts the sun in the defender's eyes. A subtle but real bonus: the defender's missile accuracy drops noticeably when firing into bright light. Approach from the west in the morning, from the south at midday, and so on. Most players don't notice this, but it shows up clearly in the post-battle casualty breakdown.
Fourth, commit the general to the wall only after the gate is open. The general's aura is the strongest rally tool in the game, and wasting the general on a tower volley is the single most expensive mistake a new player can make. Hold the general back, then walk him up to the breach the moment it opens.
Common Assault Mistakes
| Mistake | Result | Fix |
|---|---|---|
| Charging the walls in a line | Concentrated tower fire | Spread the formation, advance in waves |
| Sending elites first | Best units shredded by towers | Use ashigaru as the first wave |
| No missile cover | Defenders fire at will | Position 2+ archer units before assault |
| General on the frontline | Aura wasted, general routs | Hold general back until breach |
| Stacking at the gate | Single kill-zone | Spread the breach across the wall |
The mistakes here are the same mistakes that lose open-field battles, scaled up. A concentrated formation, a frontline general, and no supporting fire lose sieges for the same reason they lose field battles: the opponent has only one direction to aim, and you're walking into it.
Frequently Asked Questions
How long does it take for a routed unit to leave the battlefield?
A routed unit runs for roughly 30-40 seconds of real time, depending on the unit's base speed and whether the general is in proximity. Cavalry routs faster than ashigaru. If the unit reaches the edge of the map, it auto-rallies and may re-enter the fight from a flank. Kill routing units with cavalry to remove them permanently.
Can I rally a routing unit with my general?
Yes, the general's aura suppresses the routed state and helps wavering units recover faster. Walk the general into the path of a routing unit, ideally while the unit is still inside the battlefield. The unit will rally and re-form, though it will be fatigued and have reduced morale for the rest of the battle.
Does army size affect morale outcomes in sieges?
Yes, larger armies let you apply multiple pressure points simultaneously, which is the main lever in any morale break. According to community data, the effective breakpoint is roughly 1.5x the defender's unit count. Below that ratio, even skilled play tends to fail because you cannot apply the multi-angle pressure that breaks a garrison.
Are matchlock units better than archers for breaking morale?
Matchlocks apply a stronger per-shot morale penalty but at a much lower rate of fire. Archers are better for sustained pressure across many units, while matchlocks are better as a "finishing blow" on a wavering block. Mixing both is the standard high-level approach, especially during the siege phase of the Shogun 2 campaign map.
Does weather affect morale in sieges?
Rain reduces the effectiveness of both arrows and matchlocks, and the morale penalties from missile volleys drop accordingly. Snow and fog reduce visibility, which makes flanking charges harder to set up but also harder to defend against. Storms shorten the morale drain from fatigue because units tire faster, so battles tend to resolve more quickly in bad weather.