
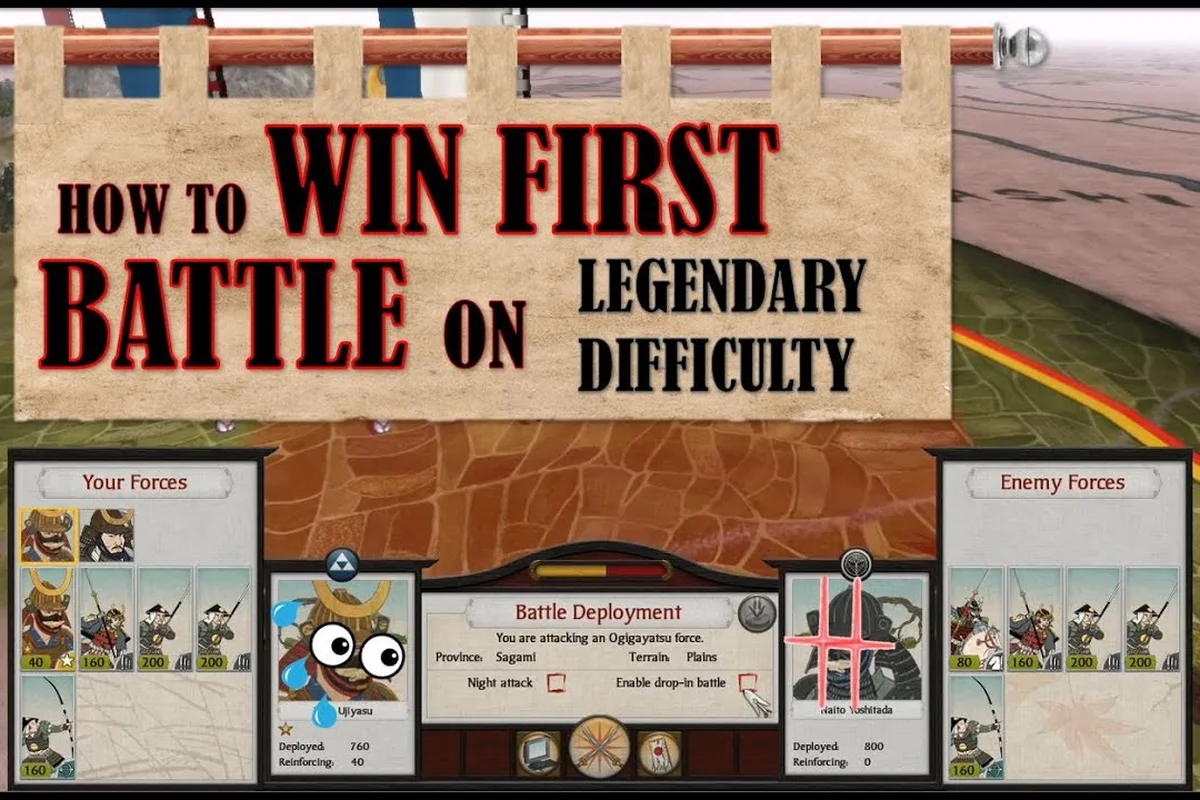
Real-time battles in Shogun 2 are decided in the first ninety seconds: a single misaligned spear unit, a general caught behind the line, or a cavalry charge that arrives one phase too late can flip the outcome of an otherwise won campaign. According to the Total War: SHOGUN 2 Steam listing, the base game still holds roughly 92% positive reviews across about 68,000 entries, and the most common praise in those reviews is the same thing veterans keep coming back to: the depth of the combat layer. This guide breaks down the formations, unit matchups, and decision points that separate an even fight from a decisive win, with the kind of specifics that auto-resolve cannot replicate.
Reading the Battlefield Before You Move
Before the first arrow flies, the strategic map tells you almost everything you need to know. Hills, rivers, forests, and bridge crossings define chokepoints that favour defensive players, while open plains reward cavalry shock and missile micro. The IGN review of the 2011 release noted that the campaign and battle layers reinforce each other rather than being separate experiences, which is why reading the terrain matters just as much as reading your roster.
The single most important habit is to pause on the deployment screen and trace three things: where your flanks sit relative to the enemy, which patch of high ground you can claim before contact, and which route enemy cavalry could use to reach your archers. Skipping that pause is the most common reason a "stronger" army loses to a cheaper one in a manual battle.
| Terrain Feature | Best Use | Units That Benefit Most |
|---|---|---|
| Hilltop | Defensive anchor, missile elevation | Yari Ashigaru, Bow Ashigaru, Naginata Samurai |
| Forest | Flank denial, stealth for kisho ninja | Yari sam kashira, kisho ninja |
| River / bridge | Chokepoint, kills cavalry charge momentum | Yari Ashigaru in spear wall |
| Open plain | Cavalry shock, massed archers | Katana Cavalry, Bow Cavalry, No-Dachi Samurai |
Deploying yari ashigaru in a shallow checkerboard on a forward hill often beats a more expensive line of samurai deployed on the flat behind them, because the ashigaru's spear reach and the elevation bonus stack. Players who internalise terrain as a force multiplier tend to win battles their economy could not afford in a straight fight.
Knowing the Roster Before the Lines Clash
Shogun 2's roster is famously narrow compared to later Total War entries, but every unit has a defined role. According to the Wikipedia overview, the army splits broadly into ashigaru (cheap, quickly raised peasant levies) and samurai (better fighters unlocked by specific province buildings, often filling specialised roles like cavalry). Treating them as interchangeable is the fastest path to a lost engagement.
The clean mental model is to organise every stack into three roles: spear line, missile battery, and shock element. The spear line holds the centre and denies cavalry, the missile battery breaks enemy morale and chips melee units, and the shock element (cavalry, no-dachi, or matchlock) swings a flank once the enemy is pinned. A stack that mixes all three, with one unit per role, generally outperforms a stack of identical "elite" units because the roles cover each other's weaknesses.
Shogun 2 Battle Formations That Actually Win
Formations are the single most underused tool in the game, especially among newer players who leave every unit in line. The default line gives you a long frontage, but a long frontage is exactly what you do not want when the enemy outnumbers you. A tight formation trades width for melee density, which raises the number of models fighting on contact, shortens the time it takes a unit to disengage, and dramatically improves the effect of a well-timed charge.
| Formation | Frontage | Best Use | Risk |
|---|---|---|---|
| Line (default) | Wide | Even-matched open field battles | Spread thin, vulnerable to flank |
| Column | Narrow | Pushing through a chokepoint or for a shock charge | Easy to cycle-charged by cavalry |
| Wedge | Narrow tip | Breaking a single point in the enemy line | Becomes a liability if the tip stalls |
| Square / Checkerboard | Dense | Anti-cav spear wall, holding a hilltop | Vulnerable to focused missile fire |
| Hollow Square | Open centre | Protecting a general or general's bodyguard unit | Loose, can be enveloped |
The best formation in Shogun 2 is almost always a context-dependent choice, but the most consistent winner across community testing is the square or checkerboard spear wall played on a forward hill with a missile line behind. That setup denies cavalry, gives missile units a clear line of fire, and lets the player pull off a clean flanking manoeuvre with one or two reserved cavalry units once the enemy is committed.
When the enemy has the numbers, switching to a hollow square with a single general in the centre can hold against odds that a flat line cannot. The square absorbs charges on every face, and the moment the enemy infantry is fully engaged, a single cavalry unit released from reserve will often break the back of the engagement. For a deeper look at how reinforcements and general skills feed into these choices, the reinforcement control guide covers the macro side of the same problem.
The Spear Wall Tactic Explained
The Shogun 2 spear wall tactic is the bread-and-butter of every campaign because it works regardless of faction. Set yari ashigaru (or yari samurai for higher-tier walls) to a tight square or checkerboard formation with "defend" or "hold this ground" active, then put a small bow unit directly behind them on a slight rise. The spear unit's yari reach adds a hit to every incoming melee swing, and the dense formation makes the unit almost impossible to cycle-charge to death.
The most common mistake is deploying the spear wall on the flat without any terrain advantage. On open ground, a coordinated cavalry charge from two directions will still punch through a yari line, because the unit can only face one way. The fix is to anchor one flank on impassable terrain (a river, cliff, or forest edge) so the wall only has to defend a half-circle, which lets the player reallocate the freed models to the active front.
| Spear Wall Variation | Setup | When to Use It |
|---|---|---|
| Yari Ashigaru square | 4–6 units in checkerboard, defend mode | Holding a hill against mixed arms |
| Yari Ashigaru line on hill | Single rank, behind a low slope | Against an enemy with weak cavalry |
| Yari Samurai anchor | 2–3 veteran units, defend mode | Late-game battles where the line cannot lose |
| Mixed yari + naginata | Yari in front, naginata in second rank | Countering heavily armoured katana or no-dachi |
A trick that separates intermediate players from veterans is to keep one or two yari units in reserve behind the main wall, and to walk them into the line as the engagement chews through the front rank. This prevents the wall from collapsing into a thin line, which is the failure mode that loses close battles. Once the wall has held for two to three minutes, the enemy morale starts to dip, and that is when the flanking cavalry or matchlock unit earns its keep.
Ashigaru vs Samurai: Picking the Right Tool
The classic dilemma is whether to fill a stack with cheap ashigaru or invest in samurai. According to the Wikipedia entry on Total War: Shogun 2, the two classes are differentiated by training time, cost, and stat ceilings rather than by being locked to different factions. The honest answer is that ashigaru win most early and mid-game engagements when used correctly, and samurai are best saved for the battles where a single elite unit can swing the outcome.
| Factor | Ashigaru | Samurai |
|---|---|---|
| Recruitment cost | Low (1–2 turns) | High (3–4 turns + province building) |
| Melee stat ceiling | Moderate | High |
| Morale | Lower, breaks faster under missile fire | High, holds against charges |
| Best role | Spear wall, missile line, expendable flankers | Shock cavalry, duellist infantry, general bodyguard |
| Counter to | Cheap enemy ashigaru, light cavalry | Enemy samurai, katana cavalry |
The cleanest Shogun 2 combat tips for early campaigns are to run at least four yari ashigaru, two bow ashigaru, and one or two cavalry units, then spend the rest of the budget on a single yari samurai anchor that lives behind the line. The anchor does not need to fight much; it exists to plug the gap the moment an ashigaru unit starts to rout, because a single collapsing yari unit in a line is what usually triggers a chain rout across the whole army.
For sieges and castle fights, the matchup math shifts again. A katana samurai in a confined street is devastating, but the same unit in an open field gets chewed up by a yari wall. Players who switch their unit roles based on the map — city streets, open plains, hilltop, bridge — win more often than players who keep the same stack composition regardless of context. The same principle is laid out in broader form in the Shogun 2 tips and tricks guide, which covers the early-turn economy that lets you afford the right stack in the first place.
Flanking, Cavalry, and Winning the Engagement
The art of Shogun 2 how to win battles is mostly the art of timing a flanking move at the moment the enemy is overcommitted. A cavalry charge that arrives while the enemy is still in march order is wasted, because the unit pulls back into a square before contact. A cavalry charge that arrives while the enemy yari line is locked in melee with your own yari line tends to route the target unit outright, because the engaged infantry cannot re-form to face a new threat.
The standard pattern looks like this: the main spear wall holds the centre for two minutes, the bow line chips away at the engaged enemy, then a single katana cavalry unit (or a yari cavalry unit for a cheaper shock) sweeps around the engaged flank and hits the enemy line in the side or rear. If the timing is right, the enemy unit breaks within ten seconds, which creates a gap that the rest of the cavalry can exploit.
| Phase | Duration | Action |
|---|---|---|
| Setup | 0:00–0:30 | Deploy spear wall forward, bow line behind, cavalry hidden on flank |
| Engagement | 0:30–2:30 | Hold the wall, fire into the engaged enemy, do not charge |
| Flank | 2:30–3:00 | Release cavalry into the engaged enemy flank |
| Exploit | 3:00+ | Push reserves through the gap, target enemy general |
The element most players miss is targeting the enemy general. Once the general dies or routes, every nearby unit takes a morale hit, and a line that was holding suddenly collapses. Killing the general with a focused cavalry charge or a matchlock volley is often the fastest way to convert a stalemate into a route. For a full breakdown of how the difficulty settings change how much punishment your units absorb, the castle defence and difficulty guide explains how the same flank plays out differently on Legendary versus Normal.
A common counter to the flank play is the enemy's own cavalry, which is why one or two yari ashigaru in reserve is so valuable. The moment enemy cavalry commits to charging your bow line, the reserve yari unit steps forward, the cavalry charge meets a prepared spear wall, and the entire flanking force breaks without scoring a kill. This is the same pattern that the morale break guide walks through from the attacker's perspective.
Common Mistakes and How to Avoid Them
Even experienced players fall into the same handful of traps. The most expensive of these is charging a melee line with cavalry across open ground, because a flat-out cavalry charge against a braced yari unit deals almost no damage and the cavalry unit ends up pinned in melee where it is weakest. The fix is to either pull the cavalry back before contact and try again from a different angle, or to hit the engaged enemy in the flank rather than charging a formed line head-on.
| Mistake | Why It Loses | The Fix |
|---|---|---|
| Charging cavalry into a braced spear wall | Cavalry models bounce off, unit pinned | Cycle-charge from a different angle, or hold for the flank |
| Leaving archers in line on open ground | One cavalry sweep deletes the unit | Park archers behind the spear wall or on a hill |
| Auto-resolving battles the player could win | Skips the terrain advantage | Pause to estimate odds, manual only the close ones |
| Ignoring the general in melee | General dies, army routes | Pull the general back, use a bodyguard unit instead |
| Filling the stack with one unit type | Loses to the counter | Mix yari, bow, and one cavalry / shock unit |
The second-most-expensive mistake is forgetting to lock the missile line's facing. A bow unit that is firing happily will not react to a cavalry charge in time unless it has been rotated to face the likely threat direction, which means a single enemy cavalry unit can sweep an entire missile battery in one pass. The simple habit of pausing every thirty seconds to check the flanks saves more missile units than any firing-position micro.
Finally, the Shogun 2 real time battle guide lesson most often skipped is the value of losing well. A close loss where the army kills two enemy units for every one it loses is still a campaign win, because the enemy has to spend turns rebuilding while the player just recruits more ashigaru. Players who reload every loss end up learning less about matchup math than players who accept the occasional defeat and study what went wrong.
Reading the Numbers: When the Line Will Hold
The hardest call in a real-time battle is whether the current line will hold for another minute, or whether the player should pull back to a fallback position before it collapses. A few heuristics make that call faster: the morale bar is the single most useful number on the screen, and a yari unit in the yellow zone is one stray cavalry charge away from routing. The second is the model count in the engaged unit, which drops visibly as melee losses mount, and the third is the enemy unit's facing, which is the cue to commit to a flank charge.
| Signal on Screen | Meaning | Recommended Action |
|---|---|---|
| Yari unit morale in yellow | One shock from routing | Pull back one rank, or feed reserves in |
| Enemy unit's back exposed | Flank is open | Release cavalry into that side |
| Bow unit under missile fire | Counter-battery is winning | Rotate the bow unit out of line of fire |
| General's bodyguard low on health | General is in danger | Pull the general behind the line |
| Enemy general visible in melee | Easy kill is on the table | Focus everything on that unit |
The cleanest version of this is the two-line defence, where the first line is a screen of yari ashigaru expected to break, and the second line is a denser formation of yari samurai or naginata samurai holding the actual ground. The first line buys time, the second line wins the battle, and the cavalry swings in to clean up once the enemy is overextended. This is essentially the same pattern that a real Sengoku-era commander would have used, and the game's design is faithful enough that the historical approach works almost every time.
Frequently Asked Questions
What is the best formation in Shogun 2 for a defensive battle?
The most reliable defensive formation is a square or checkerboard of yari ashigaru anchored on a forward hill, with a bow ashigaru line on the slope behind them. The square denies cavalry charges, the elevation gives the missile line better range, and the dense shape holds longer under sustained melee than a wide line. Reserve one or two yari units behind the wall to plug gaps as the front rank chews through.
How do I win battles against a stronger army?
Force the fight into a chokepoint or hilltop so numbers matter less, and commit to a two-line defence: a front line of expendable yari ashigaru that buys time, and a denser second line of yari samurai or naginata samurai that holds the actual ground. Once the enemy is engaged, swing one or two cavalry units into the flank and target the enemy general directly to break morale across the line.
Are ashigaru good enough to win the campaign?
Yes. Yari ashigaru in a tight square with a bow line behind can beat most early and mid-game stacks, and the cost difference lets you afford more armies across more fronts. The mistake is treating them as a stopgap; running ashigaru by design, with a single samurai anchor unit behind the wall, is a stronger composition than a full samurai stack until the late game.
When should I use matchlock units instead of bows?
Matchlock units are worth the investment in the late mid-game, when most enemy armies are starting to include armoured samurai that shrug off bow fire. Matchlocks have higher armour-piercing damage, which lets them cut through yari samurai and katana samurai that would otherwise eat arrow volleys. Keep them behind the spear wall, because they are fragile in melee and expensive to replace.
Should I always fight battles manually, or is auto-resolve fine?
Auto-resolve is fine when the odds are heavily in your favour and the result will not meaningfully change the campaign, but it consistently overestimates defensive bonuses and undervalues terrain. Any battle where the result is close, where you are defending a hilltop, or where the enemy has a strong cavalry force should be fought manually so the player can actually use the terrain advantage the auto-resolve ignores.